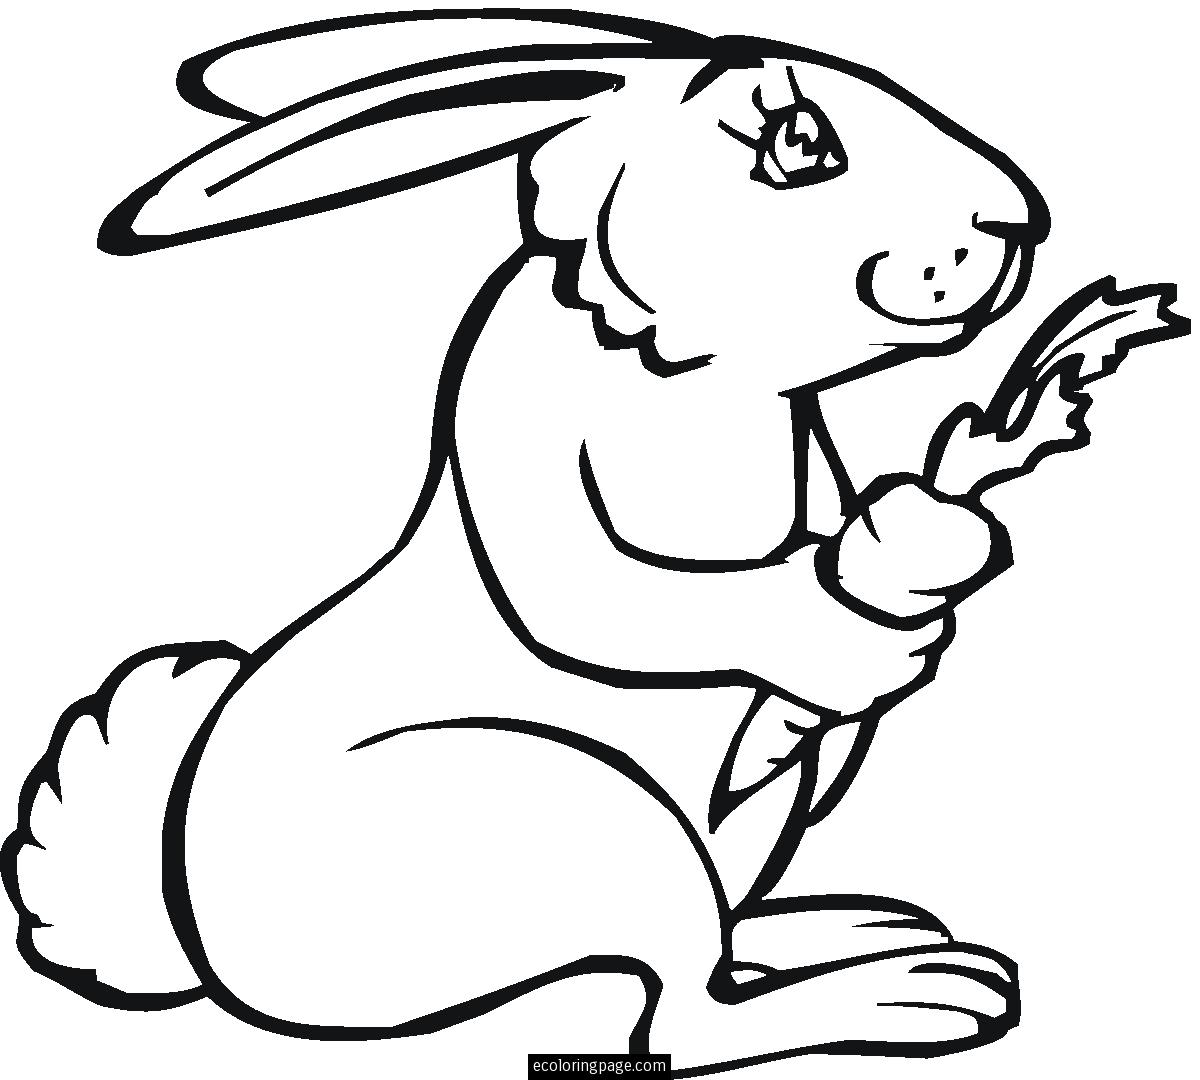
Rabbit Outline Standing Easy is a friendly introduction to drawing a clean standing rabbit silhouette with simple lines. This approach helps beginners build confidence while preserving proportions and a natural pose.
Rabbit Outline Standing Easy: Key Concepts

In this Rabbit Outline Standing Easy guide, three anchors shape the process: balance, proportion, and clean contour. Mastering these elements ensures your silhouette reads clearly at any size and remains approachable for learners and hobbyists alike.
Balance and posture
Position the weight so the rabbit appears alert, with a slight tilt forward on the front feet and a gently curved back. A small tail adds balance and helps define the overall silhouette without clutter.
Proportion basics
Keep the head compact in relation to the body, and elongate the ears thoughtfully so they read as landmarks rather than heavy features. Simple, even curves help maintain a graceful profile.
Contour clarity
Use a single, confident outline for the main edges and reserve minor internal marks for proportion checks. Crisp edges communicate a strong, easy-to-see shape.
Key Points
- Start with a light, centered stance that mirrors natural weight distribution before refining into a bold outline.
- Keep the ears as tall, tapering lines that balance the head’s size without overpowering the silhouette.
- Use gentle curves for the back and belly to convey a relaxed, upright pose.
- Maintain clean, continuous strokes to avoid jagged edges that disrupt readability.
- Review the silhouette at small sizes to ensure it remains recognizable without extra detail.
Step-by-step Technique for the Easy Outline

Step 1: Begin with a light vertical anchor line. Add a small oval for the head and sketch two long ears that rise from the top, tapering toward the tips.
Step 2: Draw a smooth back curve that slopes into a rounded belly, forming the upright stance. Keep the lines loose at this stage to allow adjustments.
Step 3: Define the hind leg tucked beneath the body and position the front paw forward to emphasize weight distribution. Use calm, continuous strokes.
Step 4: Refine the outline by tightening the curves, erasing stray marks, and thickening the final contour to create a crisp silhouette.
Tip: Practice near a window or with a reference image to compare proportions, but avoid overthinking each stroke—confidence shapes the outline just as much as accuracy.
Practical Tips for Consistency
Practice with a light pencil, then go over the final lines with a darker tone to produce a bold, legible outline. If you’re illustrating for children or beginners, consider simplifying the ears and tail to maintain clarity without sacrificing character.
What materials work best for creating a Rabbit Outline Standing Easy?
+A basic pencil and paper setup works great for practice. Use a light lead (HB or 2B) for initial outlines, an eraser for corrections, and a fine liner or darker pencil for the final contour to achieve a clean, readable silhouette.
Can I adapt the Rabbit Outline Standing Easy for kids?
+Yes. For younger artists, simplify shapes further—keep the head rounder, shorten the ears, and use a thicker final line to improve visibility. Emphasize big, friendly features and a confident stance to make the silhouette inviting.
How do I fix common mistakes that distort the pose?
+Common issues include overly long or short ears throwing balance off, a flat back that looks stiff, and jagged contour lines. Revisit Step 2’s back curve, keep ears proportionate, and redraw the outline with a single confident stroke to restore readability.
Should I add shading or keep it as a pure outline?
+Starting with a pure outline is ideal for learning silhouettes. Once comfortable, light shading can add depth to the ears and belly, but keep shading subtle to preserve the clarity of the standing silhouette.
What are the best ways to avoid a stiff or awkward silhouette?
+Focus on natural curves rather than rigid angles. Allow the ears to taper gracefully, curve the back slightly, and ensure the front leg connects smoothly to the body. Practicing with reference poses and keeping the line work fluid helps keep the silhouette lively.