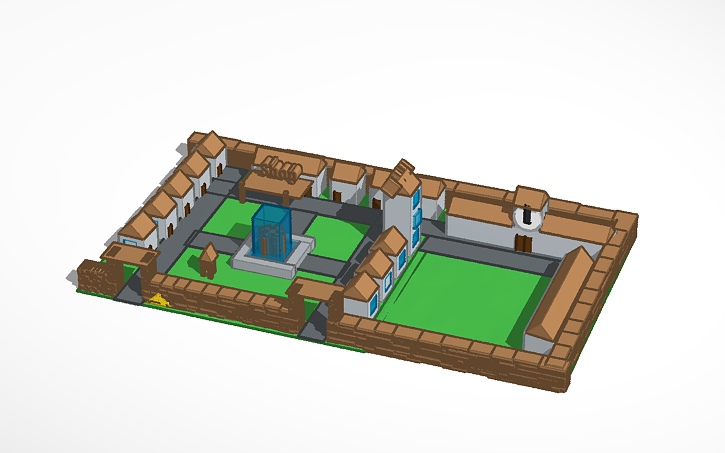
In designing a Medevil Village For Tinkercad, strategic planning matters as much as the modeling itself. This guide highlights a common mistake to avoid and offers practical steps to build a cohesive, printable medieval village with modular components.
Common Mistake To Avoid In Medevil Village For Tinkercad Designs

Starting with random shapes in Medevil Village For Tinkercad increases the risk of scale mismatch, fragile parts, and an unfitted village that cannot be assembled cleanly. The main error most beginners make in Medevil Village For Tinkercad is skipping a consistent scale and modular design. By addressing scale, layout, and printability early, you’ll end up with a village that looks authentic and holds up to real-world printing and handling.
Key Points
- Set a consistent scale in Medevil Village For Tinkercad to ensure everything prints at the intended size.
- Design modular components (houses, walls, towers) that can snap together for flexible layouts.
- Build with authentic medieval cues while keeping geometry print-friendly and machinable.
- Verify wall thickness and joint geometry to prevent fragile or loose parts when assembling the village.
- Validate fit with a quick virtual assembly and a small test print before committing to a full village.
Plan before you model
In Medevil Village For Tinkercad, begin with a layout sketch or grid system. Decide the footprint of each building in millimeters and how pieces will join. A little planning saves hours of rework later.
Use consistent units and alignment
Always set the project units to millimeters and keep all pieces aligned to the same grid. Misaligned parts cause gaps, overlaps, or loose fits during assembly of your Medevil Village For Tinkercad.
Design modular pieces for flexibility
Modularity helps you rearrange the village quickly for different scenes. Create base blocks for houses, walls, gates; ensure joining points are consistent in size and shape.
Printing considerations for Medevil Village For Tinkercad
Consider wall thickness (aim for sturdy prints), overhangs, supports, and anchor points. Design modular pieces with mating surfaces that reduce the need for supports. Use simple chamfers on edges to make sanding easier after printing.
What is the biggest mistake to avoid when starting a Medevil Village For Tinkercad project?
+Rushing to complete shapes without a plan or a scale framework leads to mismatched sizes, poor fit, and a village that feels disjointed. Start with a simple grid, decide the unit (mm), and sketch the layout before modeling any buildings.
How can I ensure accurate scale and proportions for Medevil Village For Tinkercad?
+Choose a baseline unit (for example 1 unit equals 1 mm) and design all elements to that scale. Use reference measurements for typical medieval structures and keep doorways and windows proportionate to their walls. Regularly measure your virtual pieces and test-fit assemblies.
What printing considerations should I keep in mind for Medevil Village For Tinkercad models?
+Be mindful of wall thickness (avoid very thin walls), overhangs, and needs for supports. Design modular pieces with mating surfaces that reduce the need for supports. Use simple chamfers on edges to make sanding easier after printing.
How can I keep arrangements organized for easy assembly?
+Label components conceptually in your CAD session and design consistent connection cues (slots, pegs) that guide placement. Create a small “village core” to anchor layouts, then expand with modular blocks that align to a shared grid.